Svalbard KLAR User Manual
Introduction
Svalbard Audio's KLAR can be separated in two core components:
- KLAR Main, an advanced virtual monitor controller
- KLAR Setup, which is a step-by-step guided measurement process
The Setup helps you make the measurements and create the settings that are needed to integrate your subwoofer(s) with you studio monitors. The background info for the Setup can be found in the www.svalbardaudio.com/setup
The manual you are reading now focusses on using KLAR Main as your virtual monitor controller.
Monitor Controller
As long as you don't need a computer-less solution and as long as you've got enough inputs and outputs available, KLAR can be used as a complete high-end, colorless alternative for hardware monitor controllers. With way more options and flexibility than any hardware controller has to offer. The input switching section enables you to switch between different sources. Using multiple sources simultaneously is also possible. The reference level buttons enables you to set up different fixed listening levels, so you can always work at the same pre-determined volume levels. All controls on the main screen can be controlled by midi (using a simple midi learn system), OSC or Stream Deck+, so you can use the external controller of your choice to set (reference) levels, and switch, mute or dim inputs & monitors. And, as mentioned before, you can create and instantly switch between an unlimited amount of KLAR monitors (stereo only at the moment) with as many different configurations as you find useful.
Installation
Windows
a. Download the Windows installer (.exe) from svalbardaudio.com and install KLAR.
b. Click 'Run anyway' if Windows Defender shows a 'Windows protected your PC' message and follow the steps in the installer.
macOS
a. Download the macOS installer (.pkg) from svalbardaudio.com and install KLAR
b. Enter your password and follow the steps in the installer.
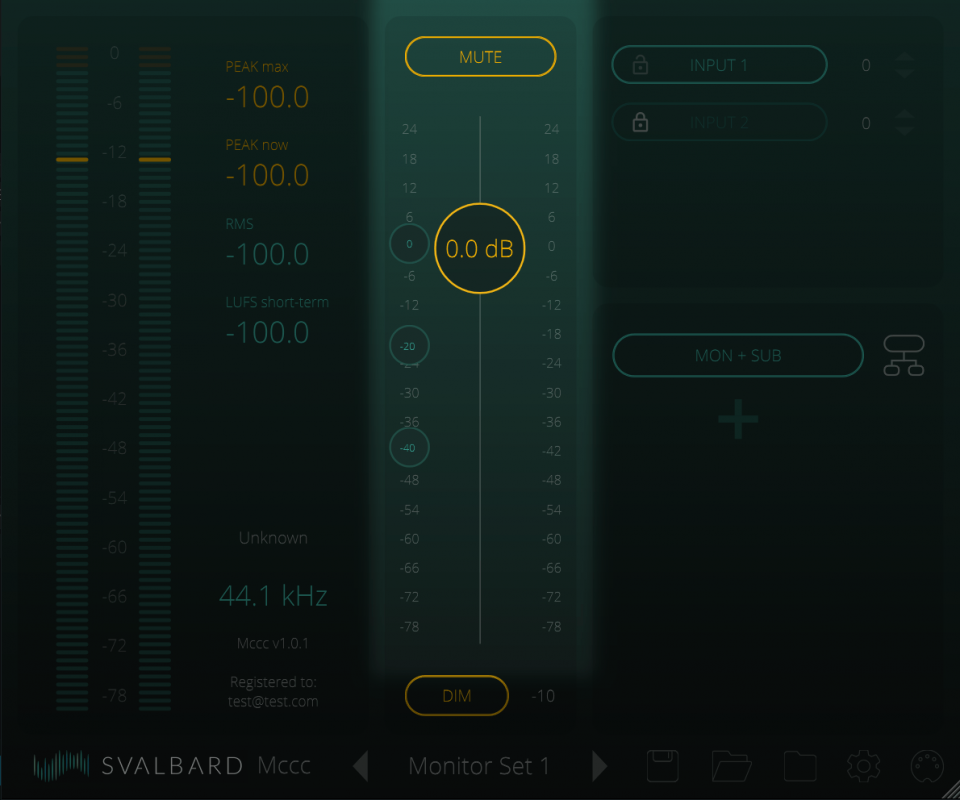
Main Screen
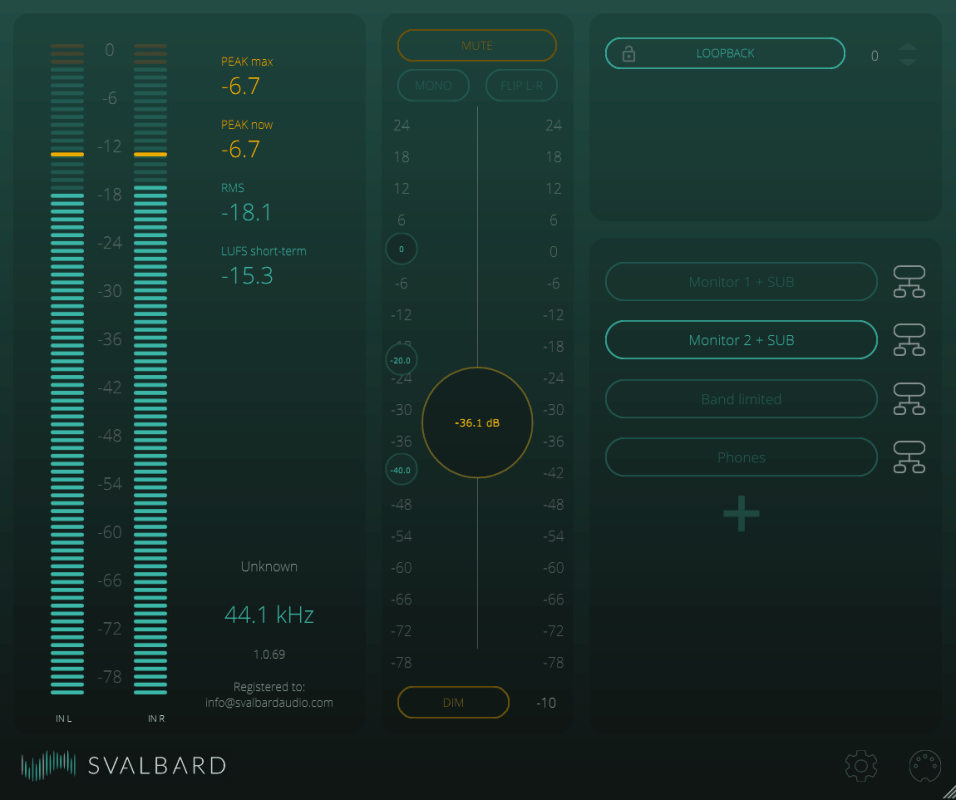
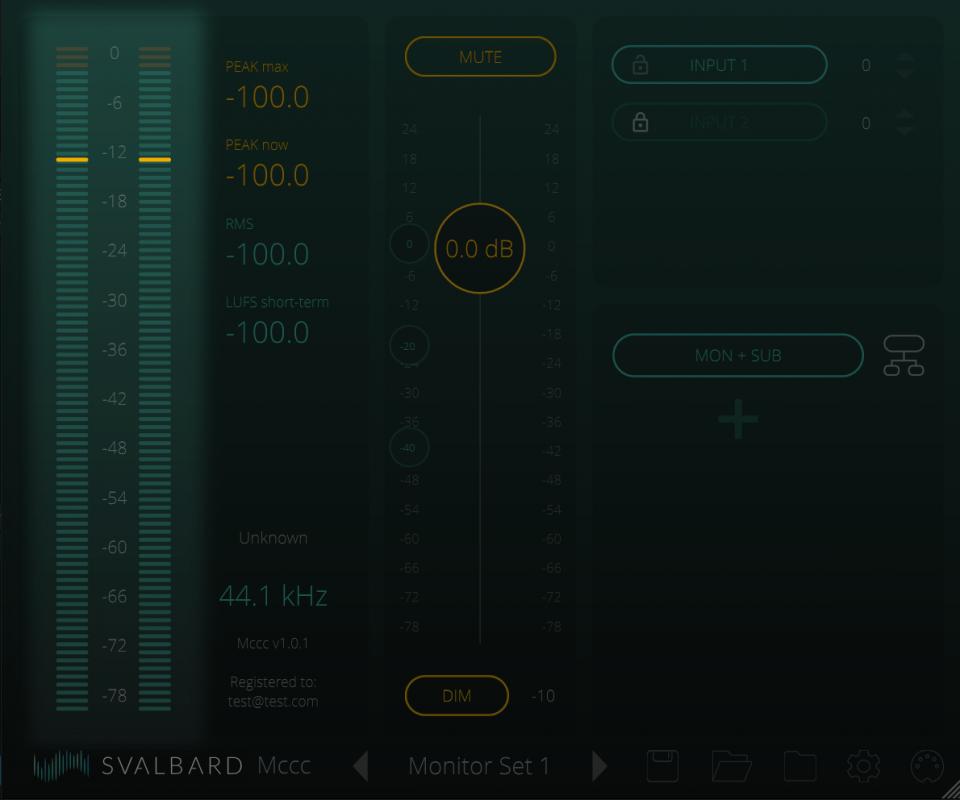
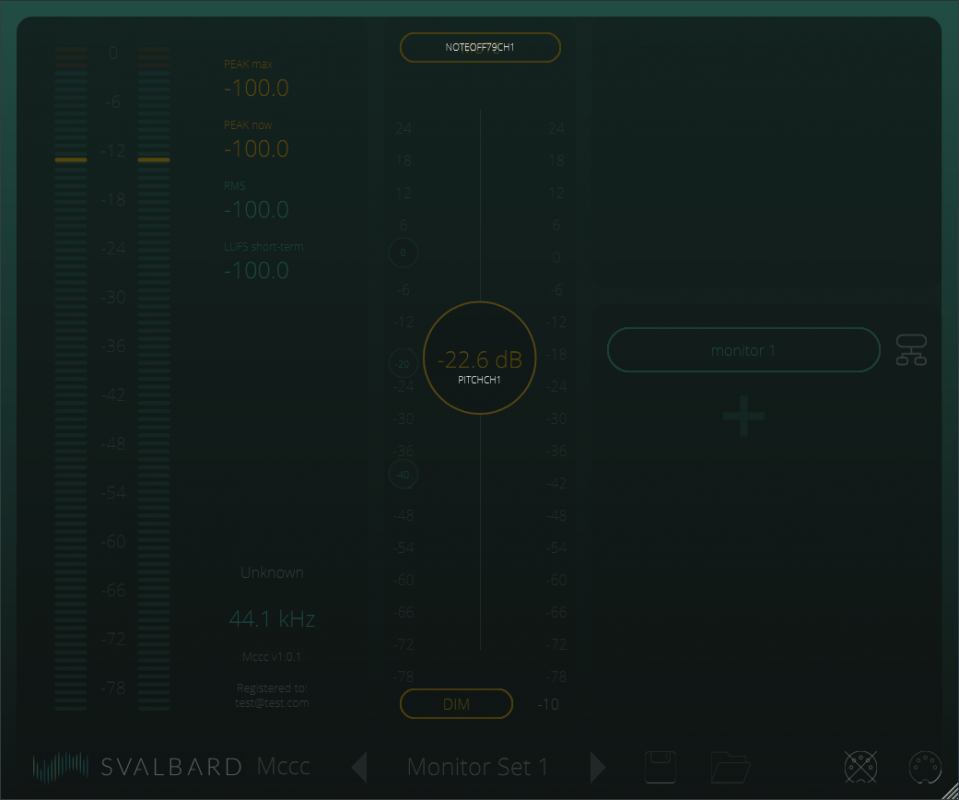
Level Display
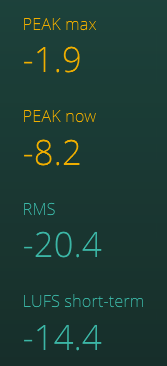
Peak Now
Input Level
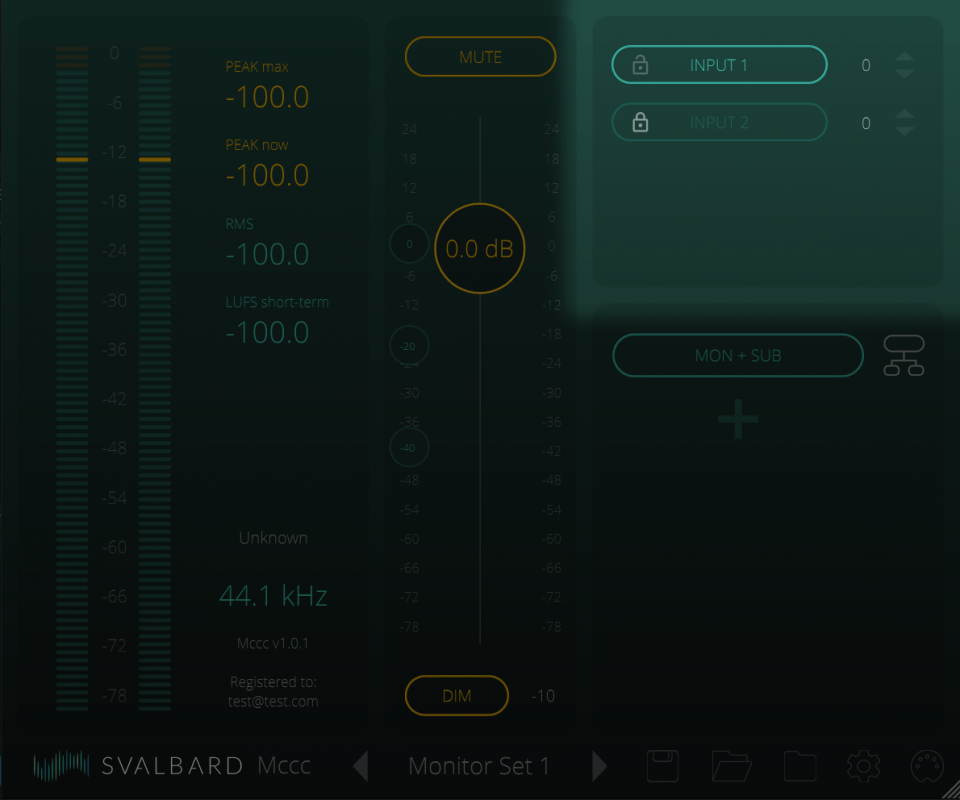
Inputs
Main Level
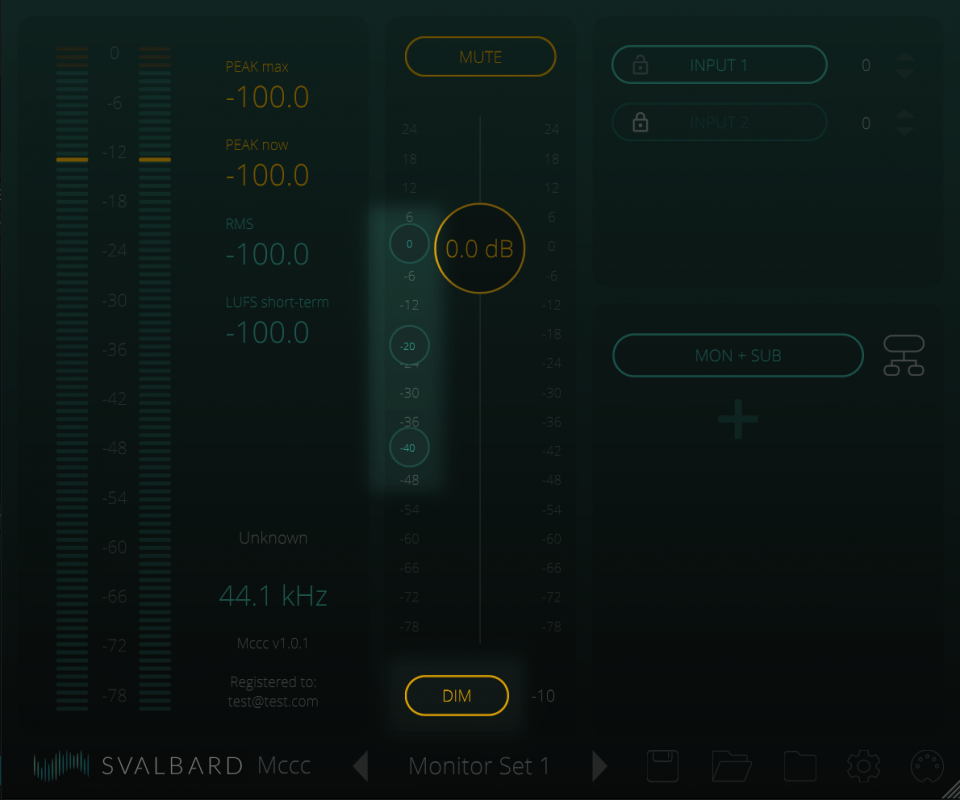
Reference levels
DIM:
by pressing this button the level of the master volume control will be lowered by a fixed value, indicated on the right of the button, relative to the current volume level. Press dim again to go back to the previous level.
REFERENCE LEVEL BUTTONS (3x):
Pressing one of the three reference level buttons changes the level of the master volume control to the level indicated on the right of the button.
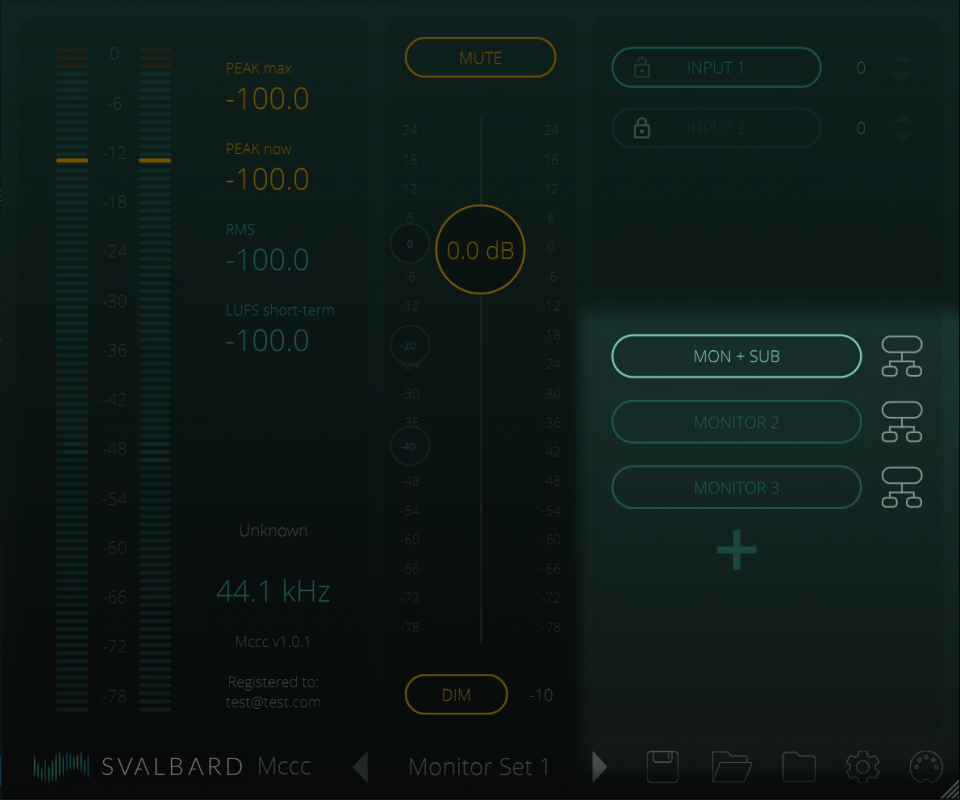
Monitors
Editing and renaming the monitor can be done by pressing the <Monitor Editor> icon to the right of the button.
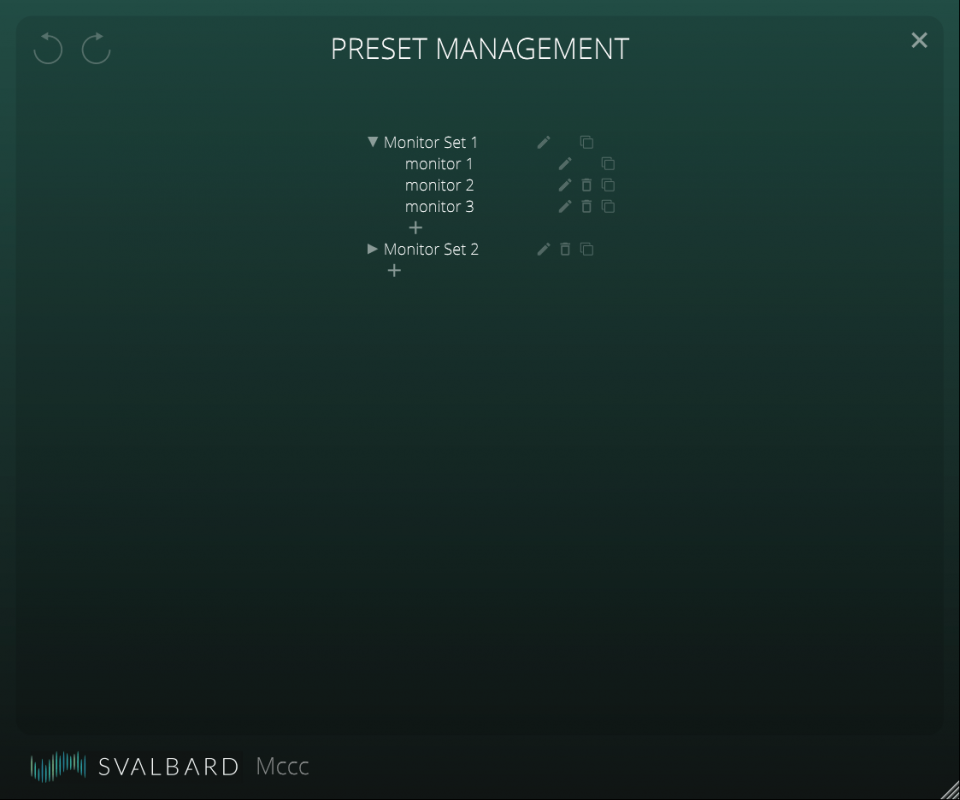
Preset Manager
Pressing the plus sign opens the preset manager. Here you can manage you monitors:
1. Save
Click the save icon to save the current monitor preset set to disk.
2. Open
Open a saved monitor.
3. Duplicate
Duplicate the current monitor preset.
4. Edit
Change the name of the current monitor preset.
5. Add
Add a new, empty monitor preset.
Footer
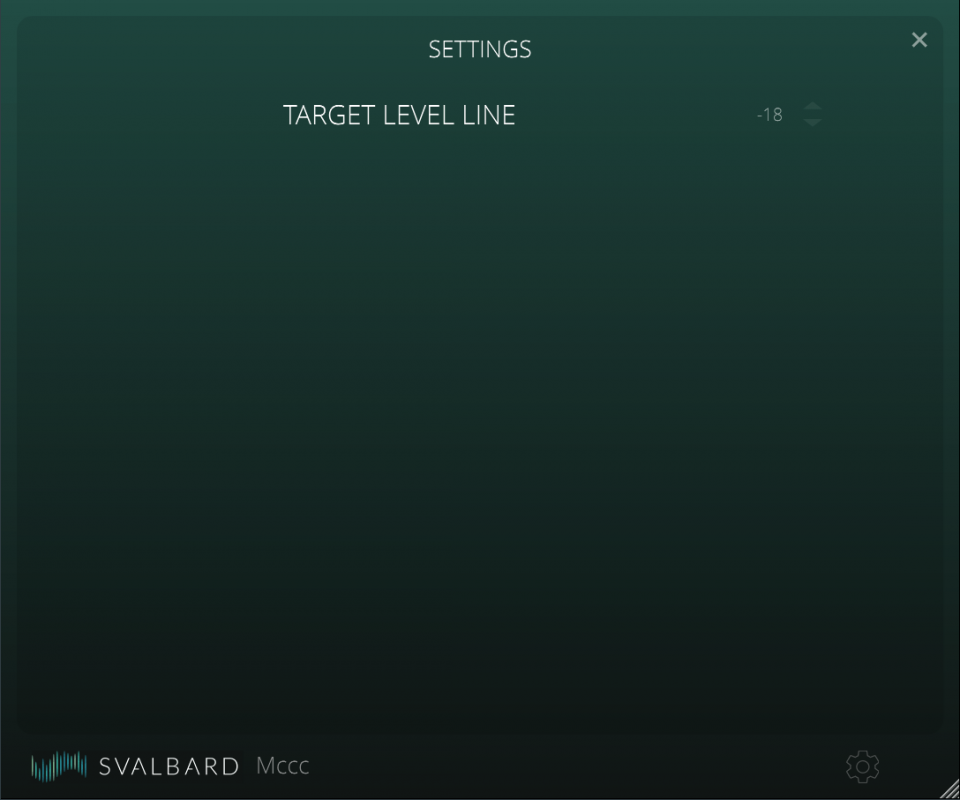
1. Settings
Adjust global KLAR settings. See <SETTINGS>
2. Midi learn
Add midi control to the KLAR controls on the main screen. See <MIDI CONTROL>
Monitor Editor
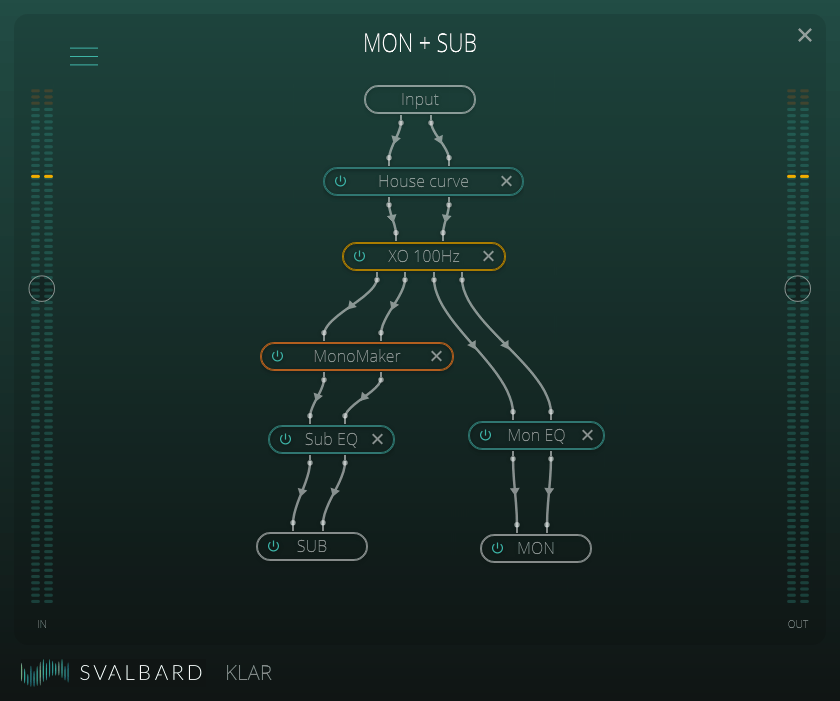
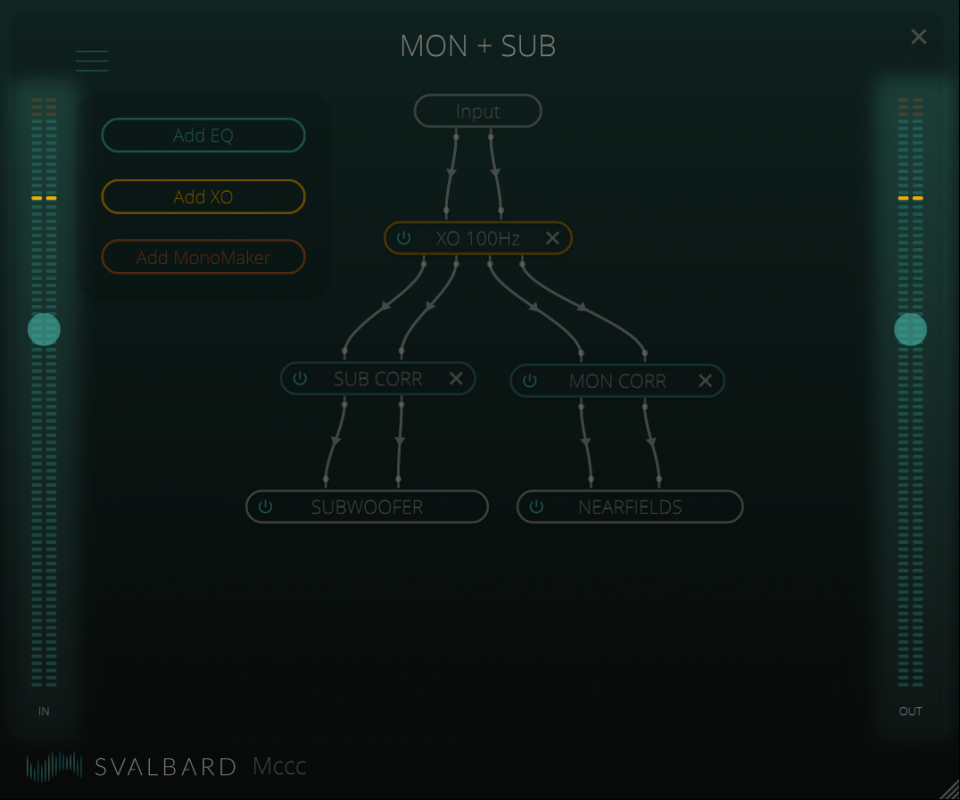
The monitor editor is used to create all the necessary connections & settings for each KLAR Monitor you create. A Monitor consists of a collection of KLAR plugins and the outputs they are connected to. The signal flow starts at the input at the top of the screen and ends at the bottom at an <'Output Bus'> plugin.
Connections
Levels
Plugins
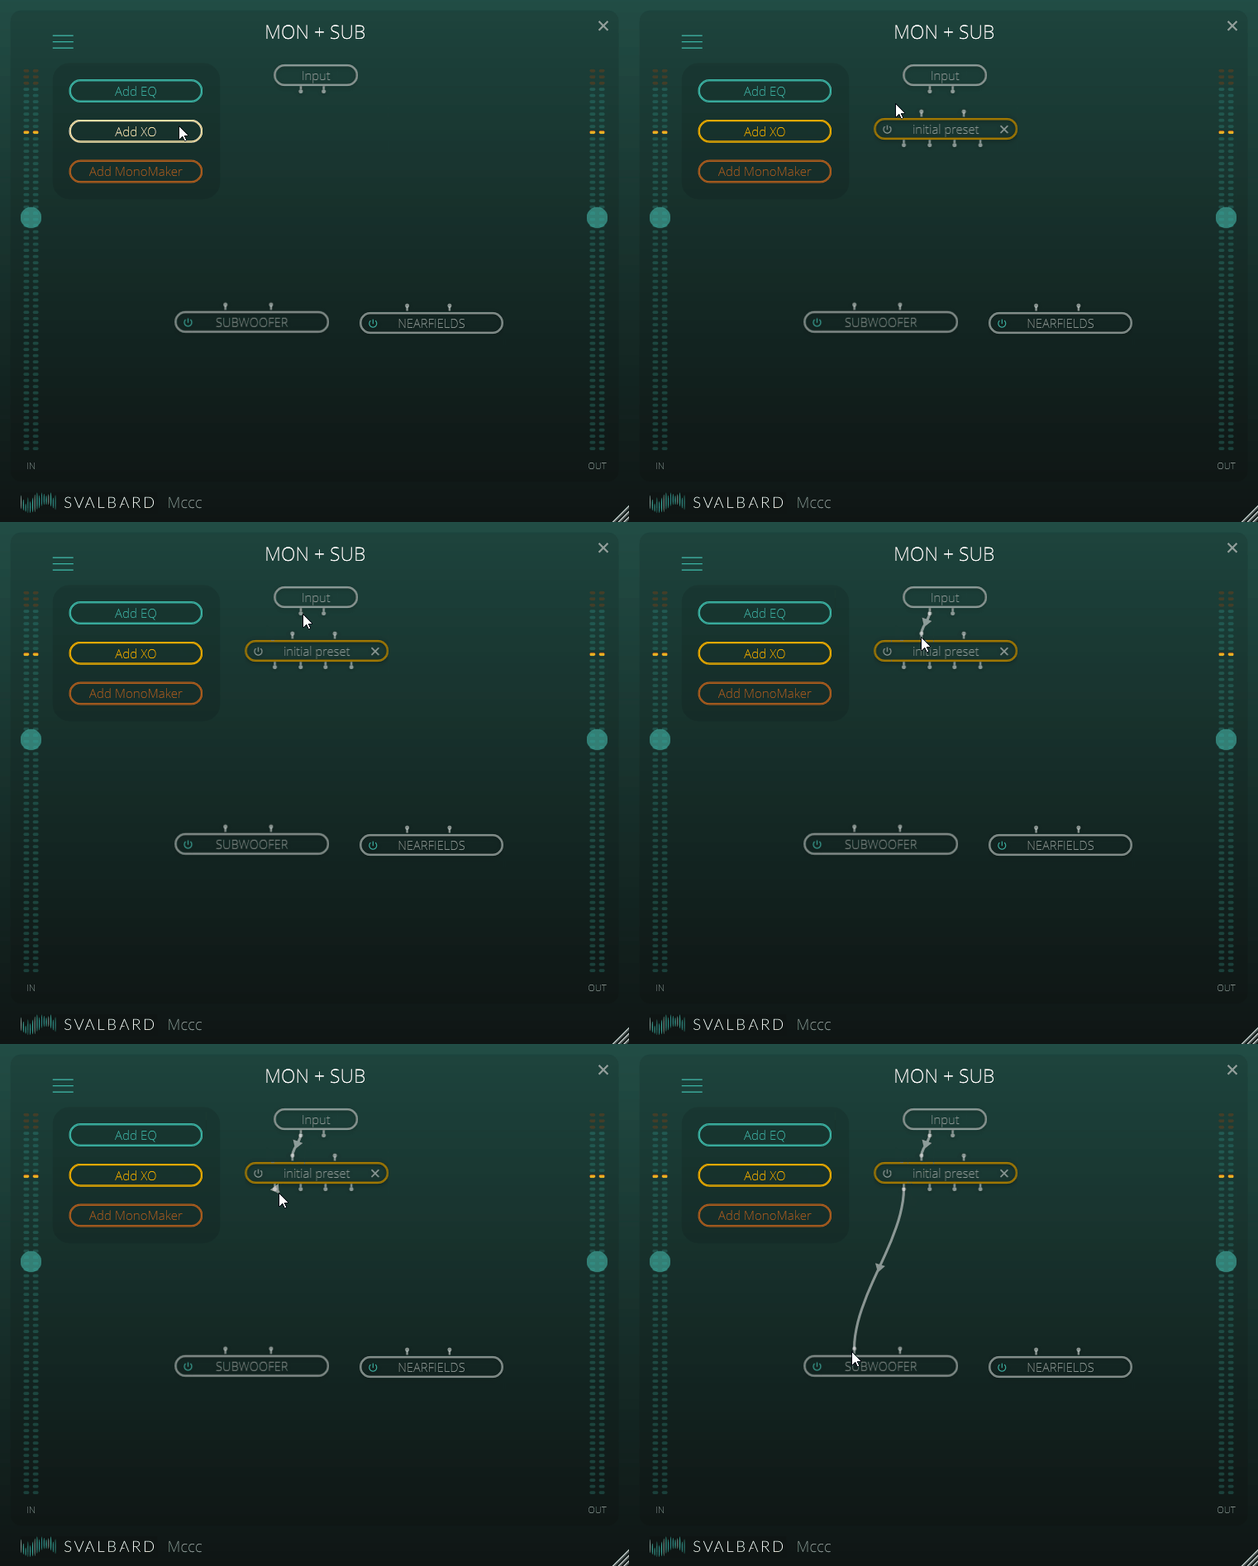
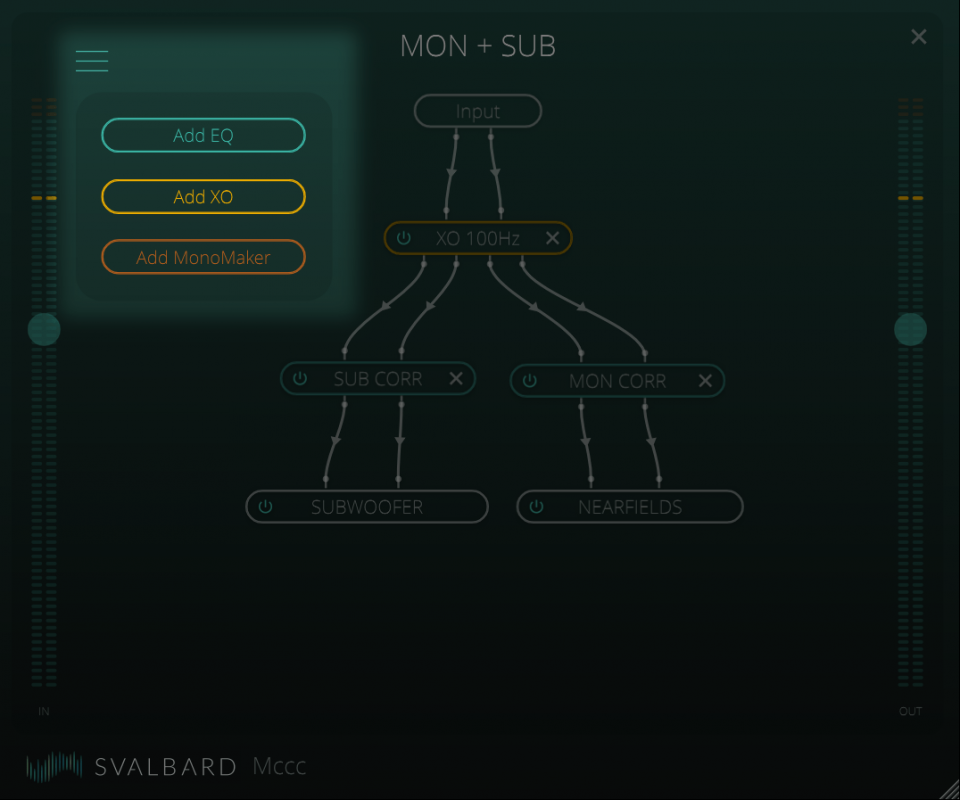
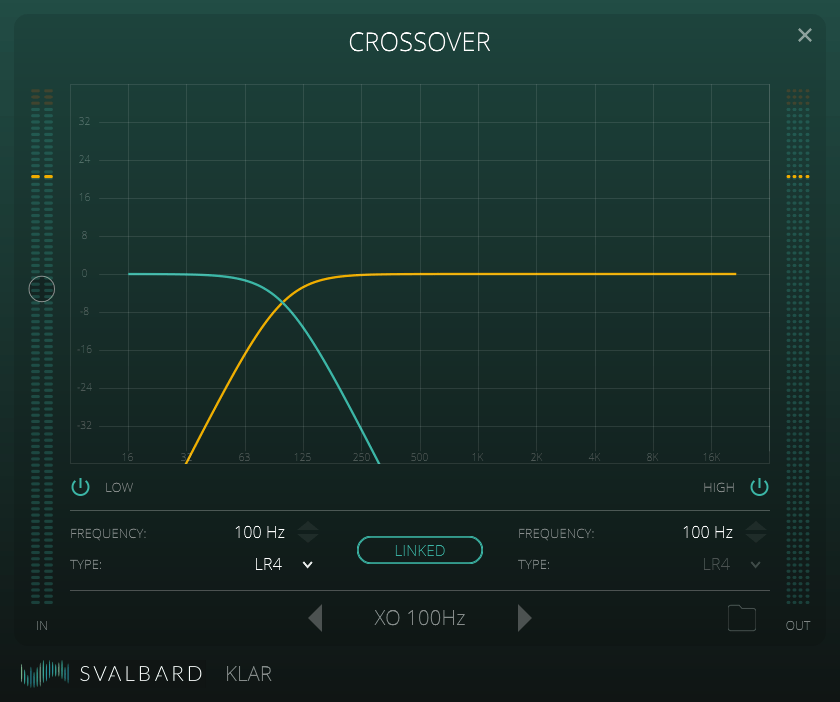
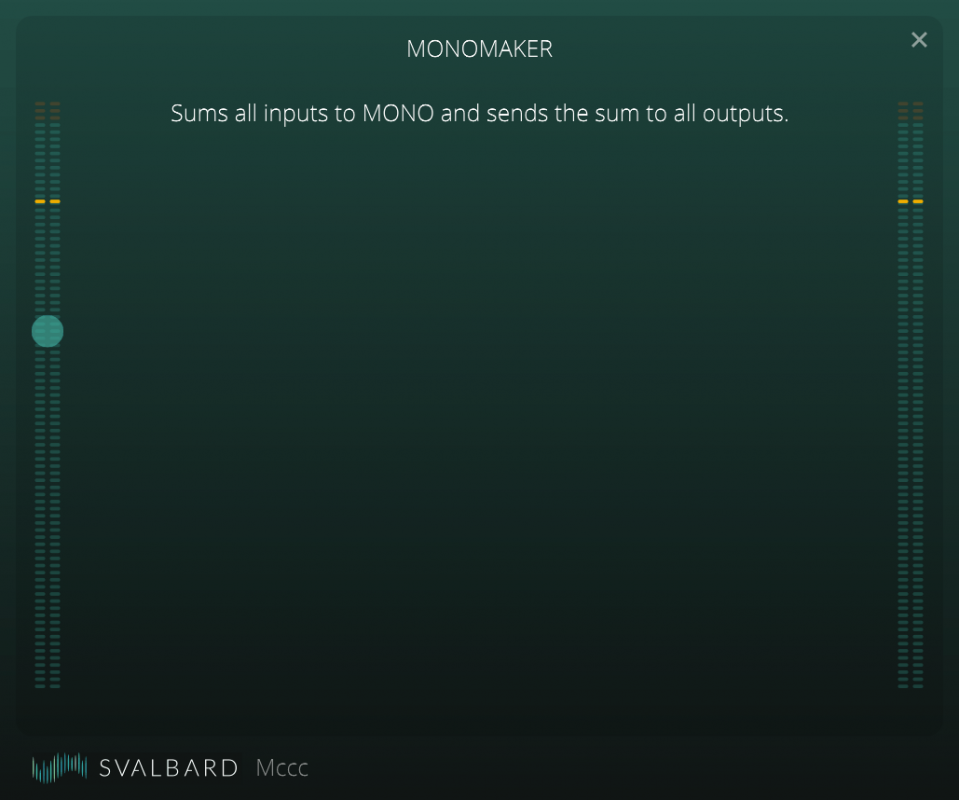
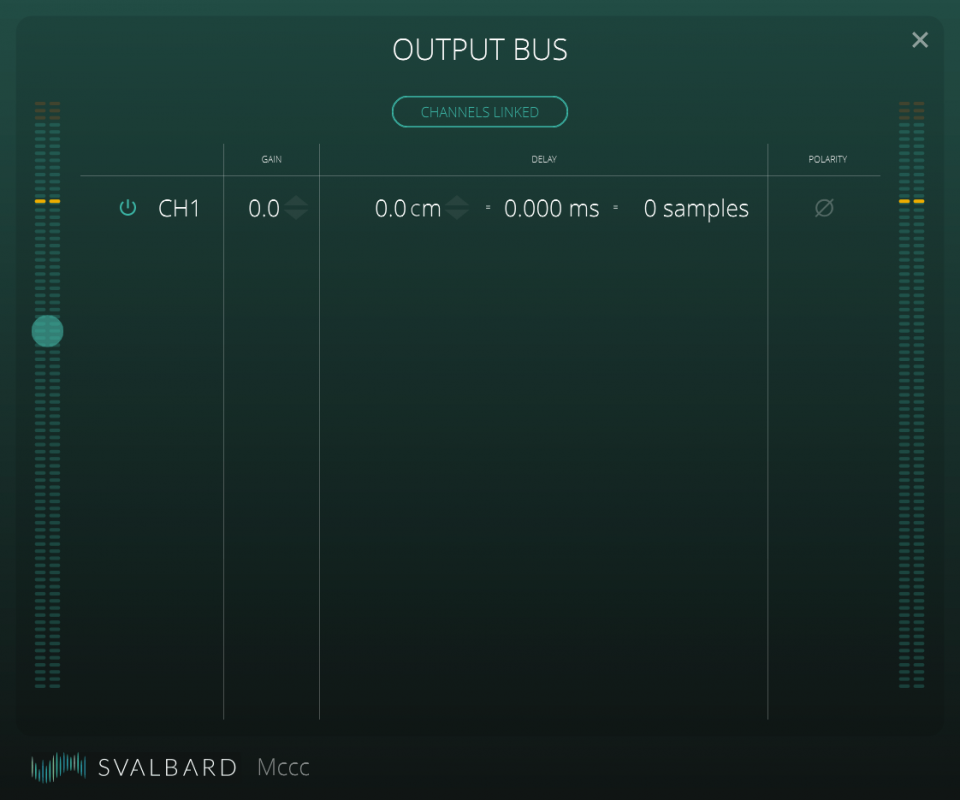
With the 'hamburger menu' (three horizontal lines) on the top left corner of the screen you can show or hide the plugin menu. Click a button in the menu adds one of KLAR's own internal plugins. There are three versions available: <EQ>, <Crossover> & <MonoMaker>. <Output> busses also appear as a plugin in the monitor editor, but you don't have to add them manually, they are created automatically for each KLAR 'Output' have created in the 'edit outputs' menu. The text-field of the plugin displays its preset-name, which you can change manually inside each plugin. The graphical user interface (GUI) of each plugin is opened by clicking on the name.
Remove & bypass
Input level
Preset switcher
Preset manager
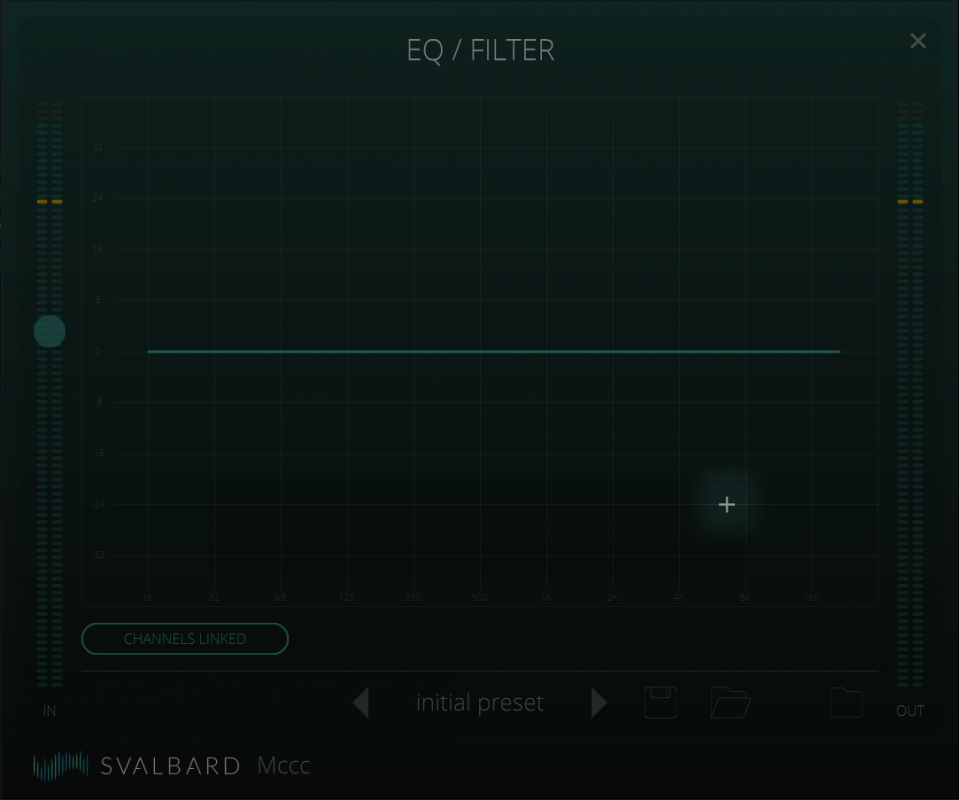
EQ
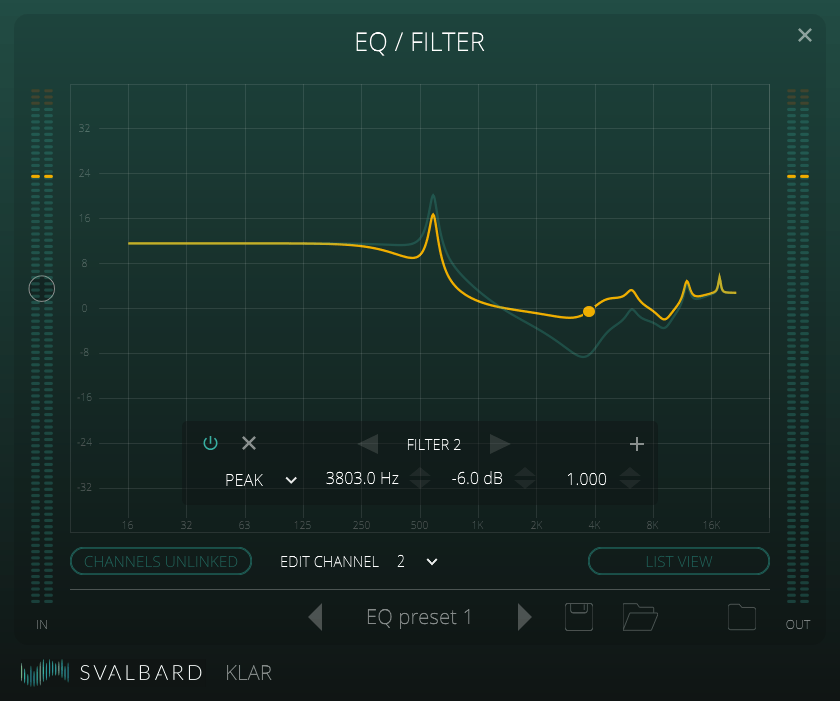
The EQ plugin enables you to create EQ (filter) settings. Here are some examples where this might be useful for:
- Linearize a speaker/driver so it has a flat response.
- Add filters to compensate for room mode problems.
- Adjust a 'target eq' to adjust the overall response of your monitoring system to your personal taste.
Add filter button
Filter settings
Channel link button
Save and open REW filter settings files
The KLAR EQ presets are fully compatible with REW. You can save the current filter settings to a file on your disk to import in REW or store for future use in KLAR. You can open KLAR filter settings or import REW filter settings that you have saved using 'Save as REW filter settings file'.
