Svalbard KLAR User Manual

Index

- Introduction
- Installation
- Main screen
- Monitor editor
- EQ
- XO
- MonoMaker
- OutputBus
- Preset manager
- Settings
- Midi learn


Introduction

Svalbard Audio's KLAR can be separated in two core components:

- KLAR Main, an advanced virtual monitor controller
- KLAR Setup, which is a step-by-step guided measurement process

The Setup helps you make the measurements and create the settings that are needed to integrate your subwoofer(s) with you studio monitors. The background info for the Setup can be found in the www.svalbardaudio.com/setup

The manual you are reading now focusses on using KLAR Main as your virtual monitor controller.

Monitor Controller

As long as you don't need a computer-less solution and as long as you've got enough inputs and outputs available, KLAR can be used as a complete high-end, colorless alternative for hardware monitor controllers. With way more options and flexibility than any hardware controller has to offer. The input switching section enables you to switch between different sources. Using multiple sources simultaneously is also possible. The reference level buttons enables you to set up different fixed listening levels, so you can always work at the same pre-determined volume levels. All controls on the main screen can be controlled by midi (using a simple midi learn system), OSC or Stream Deck+, so you can use the external controller of your choice to set (reference) levels, and switch, mute or dim inputs & monitors. And, as mentioned before, you can create and instantly switch between an unlimited amount of KLAR monitors (stereo only at the moment) with as many different configurations as you find useful.

Installation

Windows

a. Download the Windows installer (.exe) from svalbardaudio.com and install KLAR.

b. Click 'Run anyway' if Windows Defender shows a 'Windows protected your PC' message and follow the steps in the installer.

macOS

a. Download the macOS installer (.pkg) from svalbardaudio.com and install KLAR

b. Enter your password and follow the steps in the installer.

Main Screen

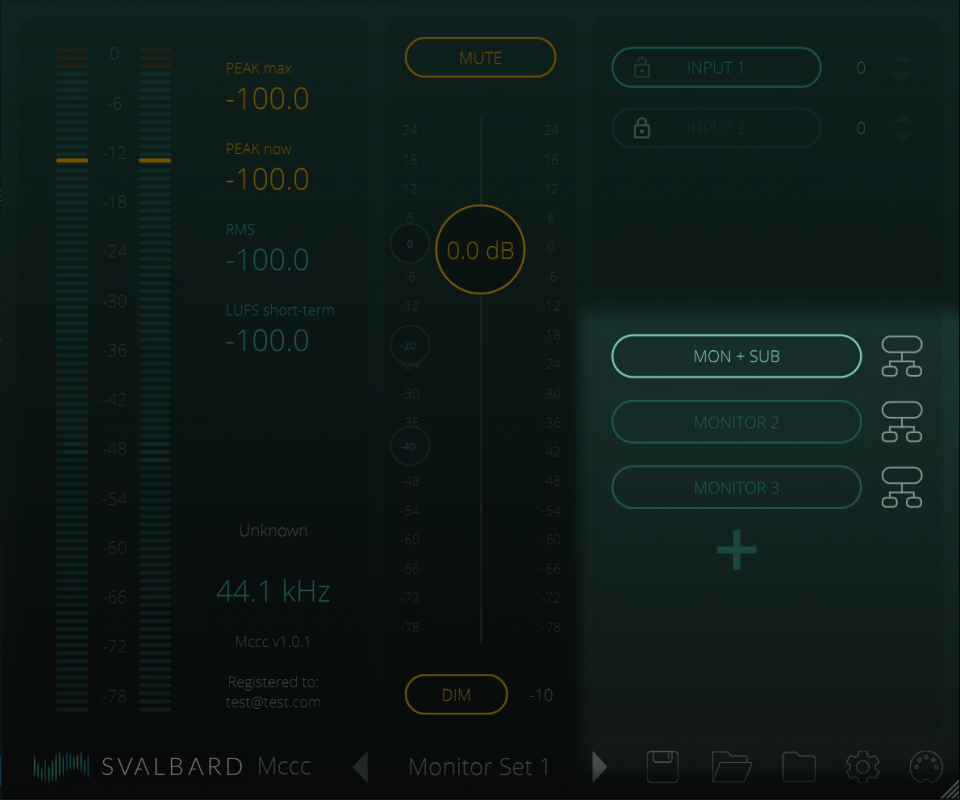
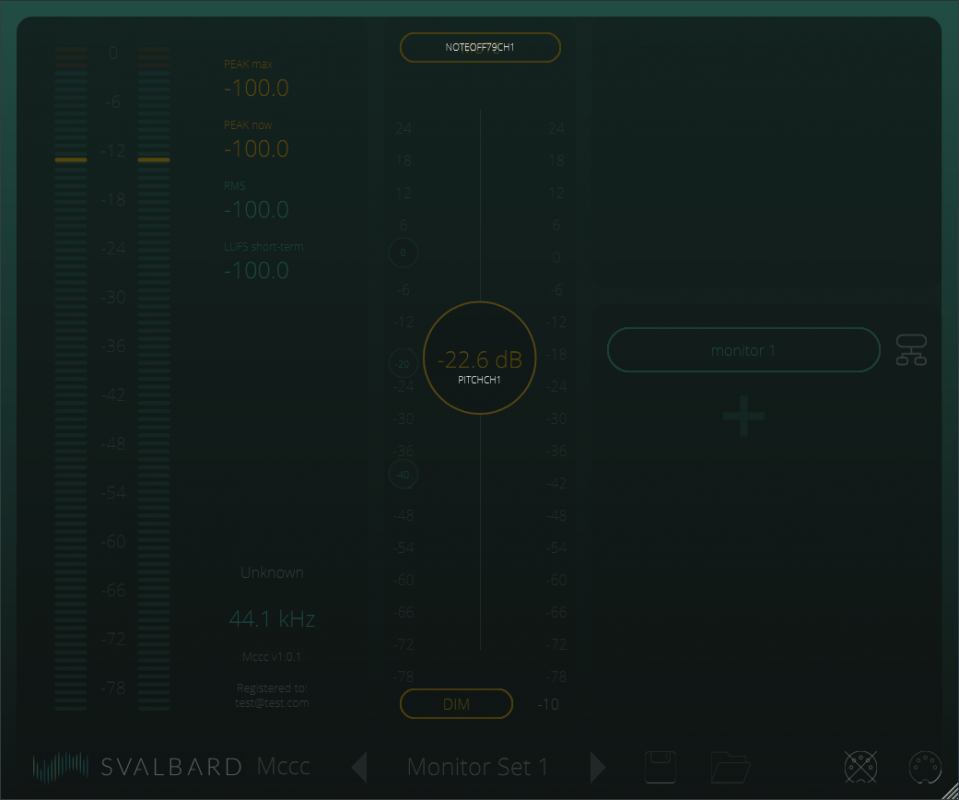
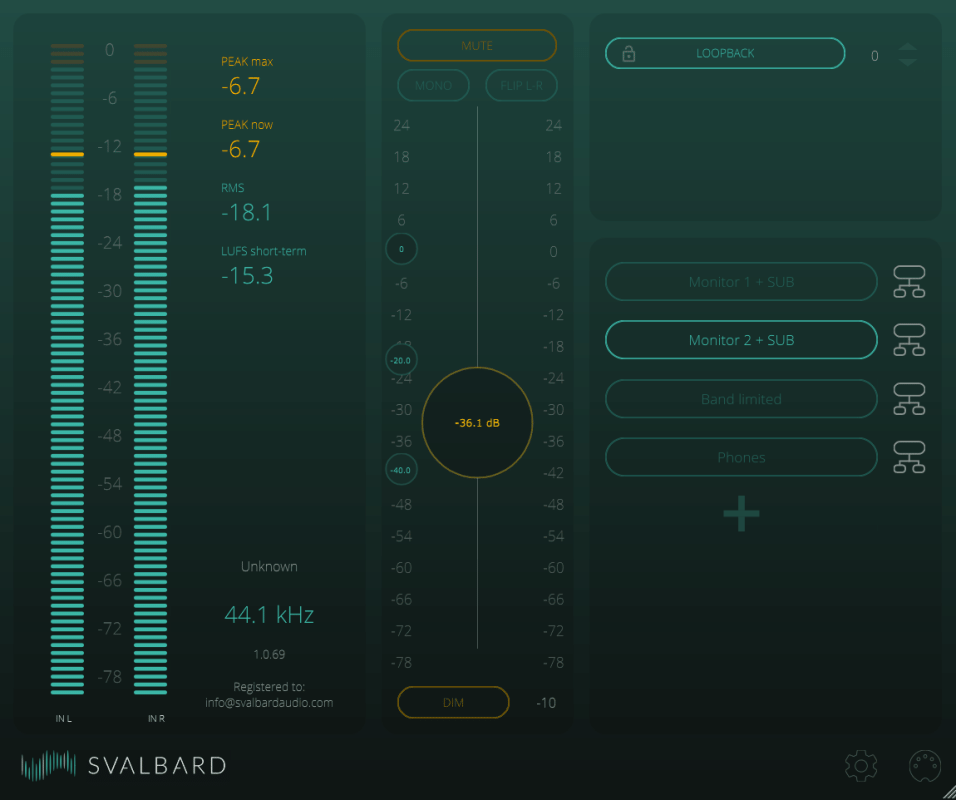
The main screen is the default screen you see when you open KLAR.
Svalbard Audio KLAR - virtual monitor controller and room correction software

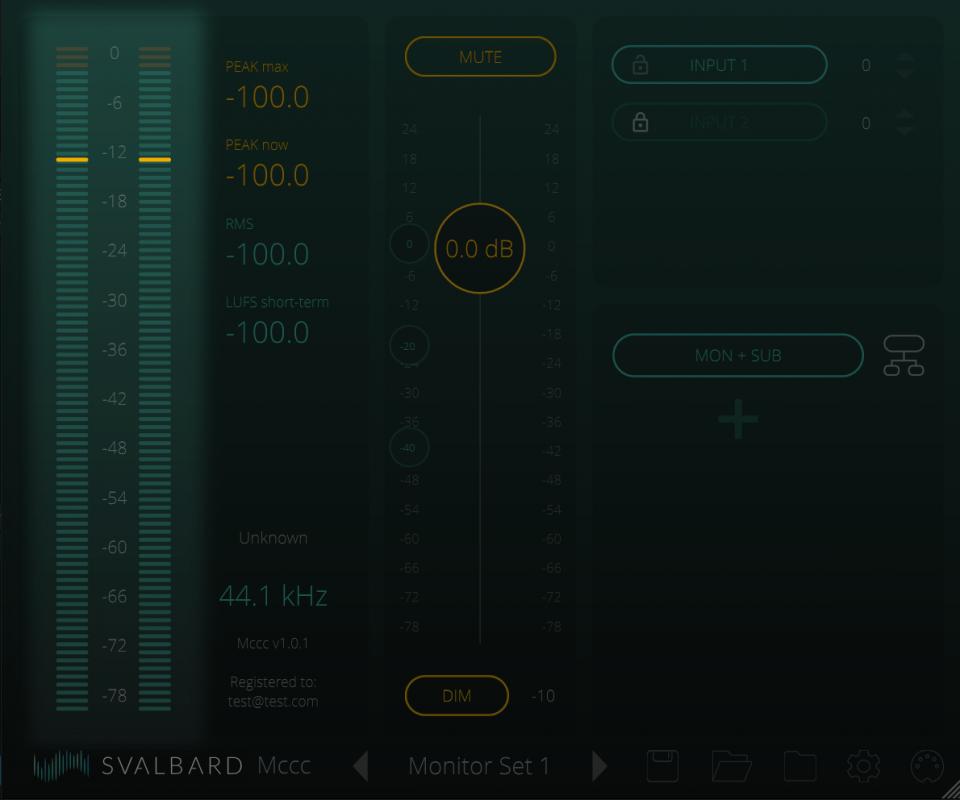
Level Display

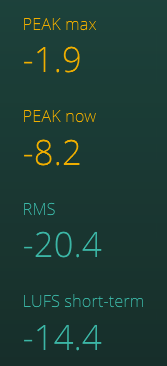
The area in the top left corner displays the input levels of the main instance of KLAR. All levels are in decibels (dB) relative to full scale (FS, 0dB).
Peak Max
The highest absolute sample value that has occurred since opening the plugin or resetting its value. You can reset the value by clicking anywhere on the label or value itself.

Peak Now
The absolute sample value at this moment (with a very short averaging to make it readable).
 
RMS
The average level over the last 250 milliseconds
 
LUFS short-term
The average LUFS (Loudness Units Full Scale) level over the last 3 seconds.

Input Level

The area with the led-levels on the far left displays the incoming level. It can be switched between Peak, RMS, or LUFS in the <settings> area. The yellow line can be used as a target indicator of the level you aim for. See <TARGET LEVEL>

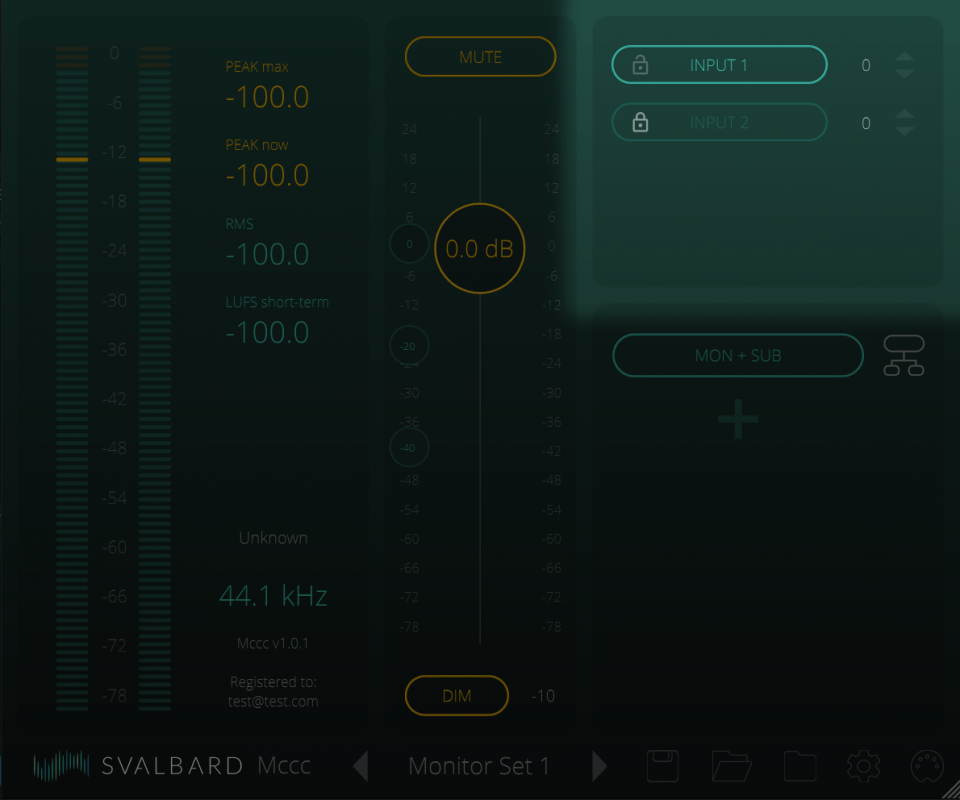
Inputs

If you have added any 'Input switch' instances <DAW Routing > Inputs>, they show up automatically in this area. Normally only one input is active at a time and you can select which by click on it. If for some reason you want more than one input active at a time you can click its 'lock' icon. Now you can toggle this input on/off without affecting any other inputs. The value + up/down arrows at the right of each input can be used to adjust its level (in dB's). The level is adjusted in the 'Input Switch' instance.

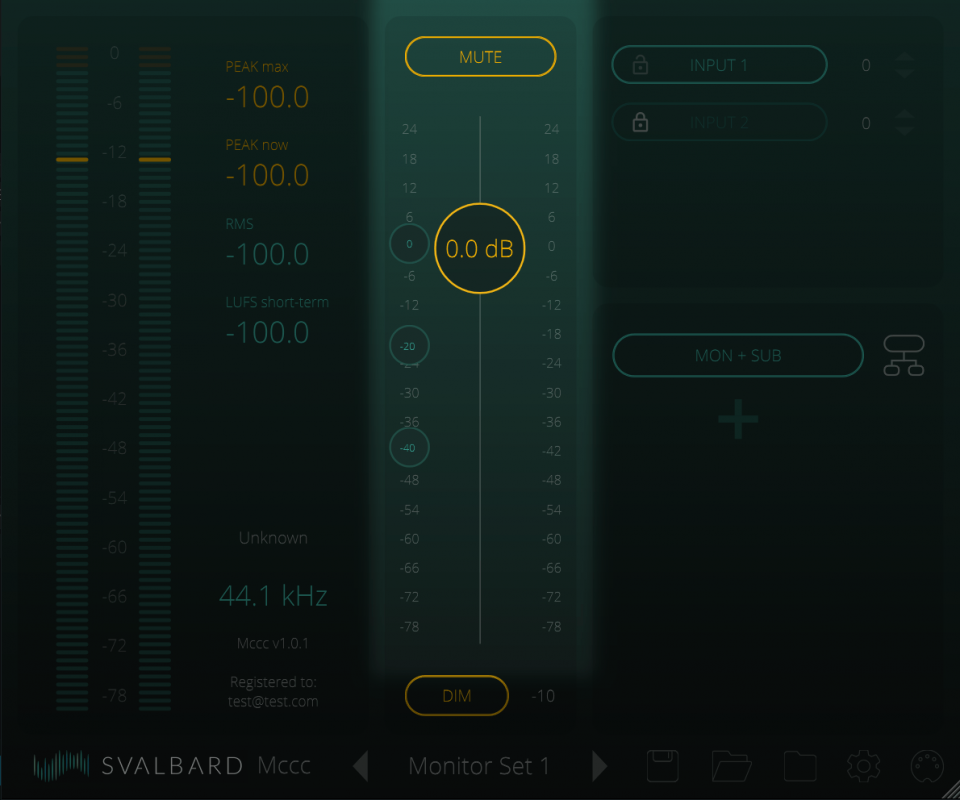
Main Level

The current volume level is indicated by the value in the large round fader-cap that you can use as your master volume control. If you hover over it the current value is displayed. The mute button at the top mutes the signal going to all output busses.

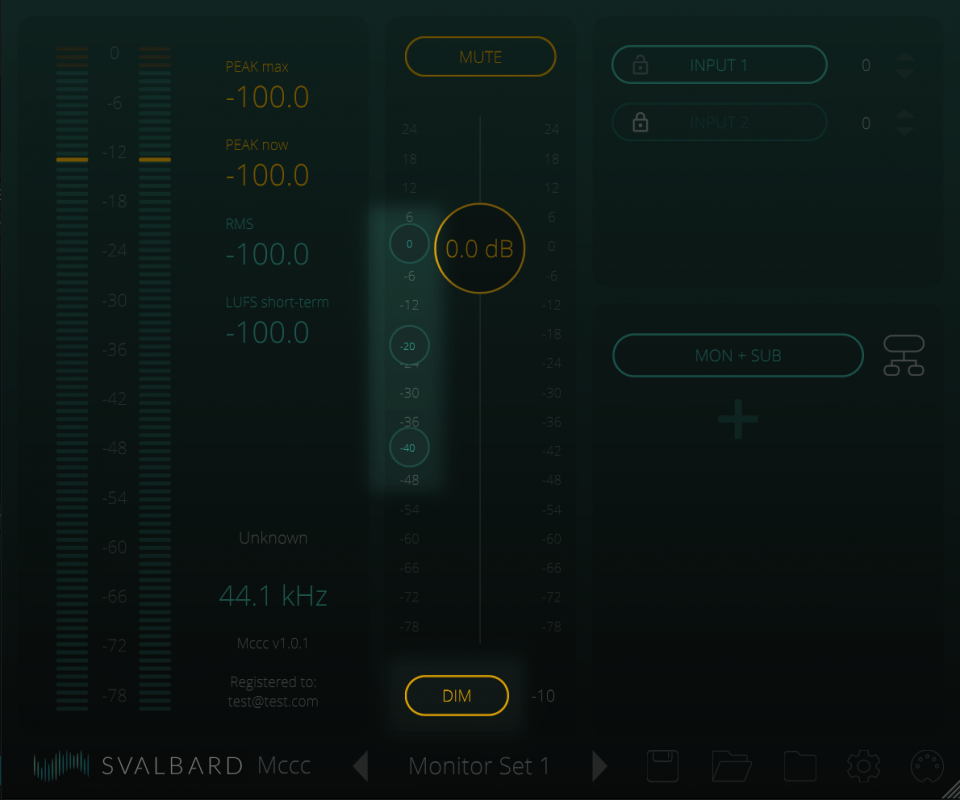
Reference levels

The three small round buttons directly to the left of the main volume fader can be used to set reference levels. The dim button below can be used to lower the master volume control with a fixed amount relative to the current level.

DIM:
by pressing this button the level of the master volume control will be lowered by a fixed value, indicated on the right of the button, relative to the current volume level. Press dim again to go back to the previous level.

REFERENCE LEVEL BUTTONS (3x):
Pressing one of the three reference level buttons changes the level of the master volume control to the level indicated on the right of the button.

Monitors

A Monitor in KLAR consists of KLAR plugins and the connections to the 'Output Busses' to which your (physical) speakers are connected. Check out the <monitor editor> section to find out how this works. You can create as many Monitors as you want and this enables you to create multiple setups/settings. You can easily switch between them using the Monitor buttons on the bottom right half of the plugin window.

Editing and renaming the monitor can be done by pressing the <Monitor Editor> icon to the right of the button.

Preset Manager

Pressing the plus sign opens the preset manager. Here you can manage you monitors:

1. Save
Click the save icon to save the current monitor preset set to disk.

2. Open
Open a saved monitor.

3. Duplicate
Duplicate the current monitor preset.

4. Edit 
Change the name of the current monitor preset.

5. Add
Add a new, empty monitor preset.

Footer


1. Settings
Adjust global KLAR settings. See <SETTINGS>

2. Midi learn
Add midi control to the KLAR controls on the main screen. See <MIDI CONTROL>

Monitor Editor

Monitor editor

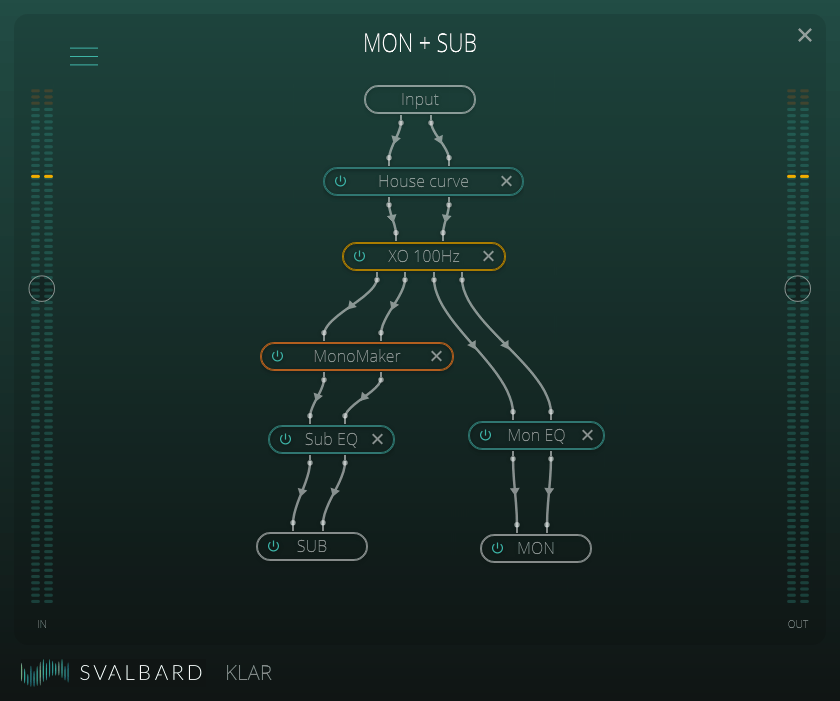
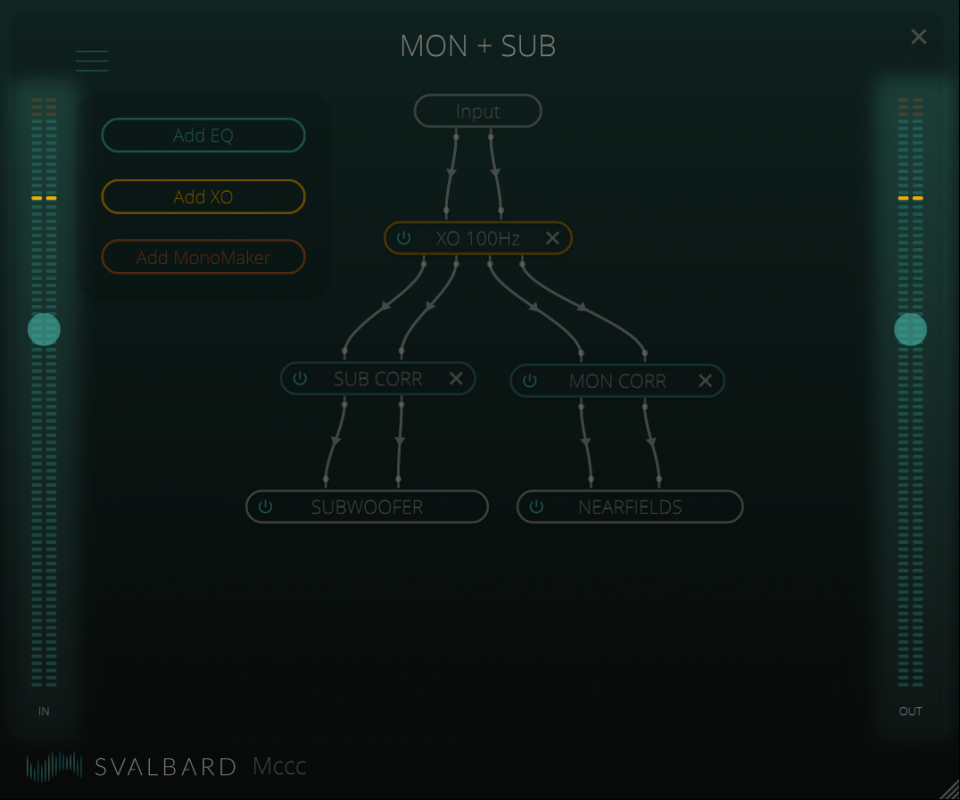
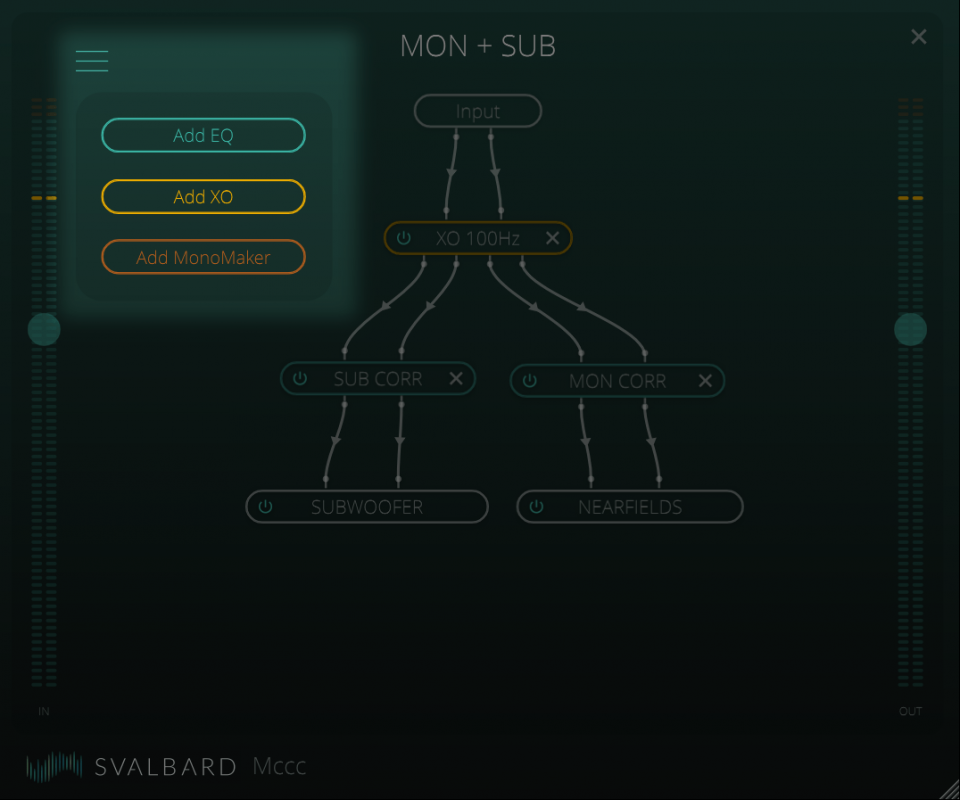
The monitor editor is used to create all the necessary connections & settings for each KLAR Monitor you create. A Monitor consists of a collection of KLAR plugins and the outputs they are connected to. The signal flow starts at the input at the top of the screen and ends at the bottom at an <'Output Bus'> plugin. 

Connections

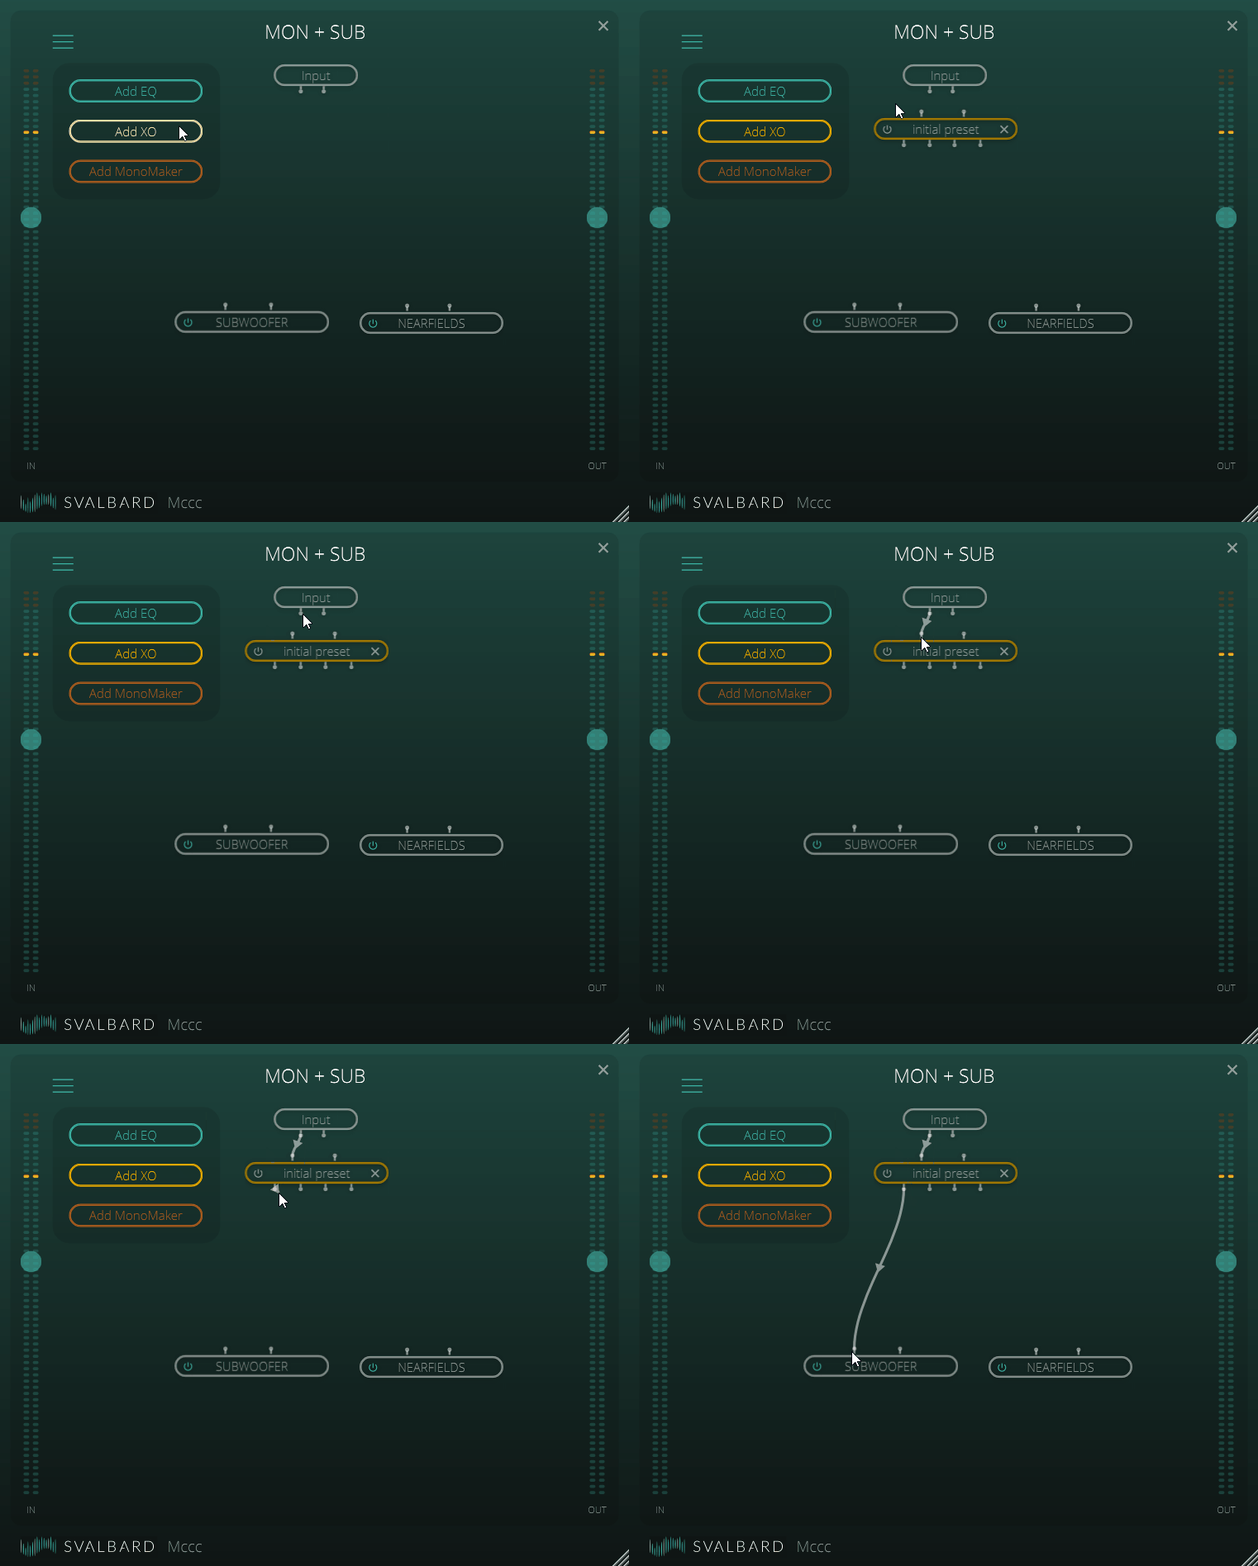
By clicking and dragging you can connect inputs, outputs & plugins.

Levels

Both the input and the output level meters have a slider that controls the input/output level. You can use them to gain stage the level entering and exiting a monitor. They also enable you to create an equal output level on all separate KLAR monitors, so there are no volume jumps when switching monitors.

Plugins

With the 'hamburger menu' (three horizontal lines) on the top left corner of the screen you can show or hide the plugin menu. Click a button in the menu adds one of KLAR's own internal plugins. There are three versions available: <EQ>, <Crossover> & <MonoMaker>. <Output> busses also appear as a plugin in the monitor editor, but you don't have to add them manually, they are created automatically for each KLAR 'Output' have created in the 'edit outputs' menu. The text-field of the plugin displays its preset-name, which you can change manually inside each plugin. The graphical user interface (GUI) of each plugin is opened by clicking on the name.

Remove & bypass

You can bypass a plugin by clicking the 'power' button on the left and remove/delete the plugin by clicking the 'X' button on the right.

Input level

The plugins all have an input level fader which enables you to adjust the level going into the plugin. LED meters are provided for both the input (pre-fader) & output signal levels. Adjusting the input fader so that the output level matches the input level enables you to create a setup where you can bypass a plugin without an obvious jump in volume.

Preset switcher

You can use the preset switcher to switch between different presets. You can rename a preset by clicking on its name. Available in EQ & XO.

Preset manager

The button in the bottom right corner opens the <PRESET MANAGER> for the current plugin. Here you can add, remove, duplicate or rename the plugin's presets. Available in EQ & XO.

EQ

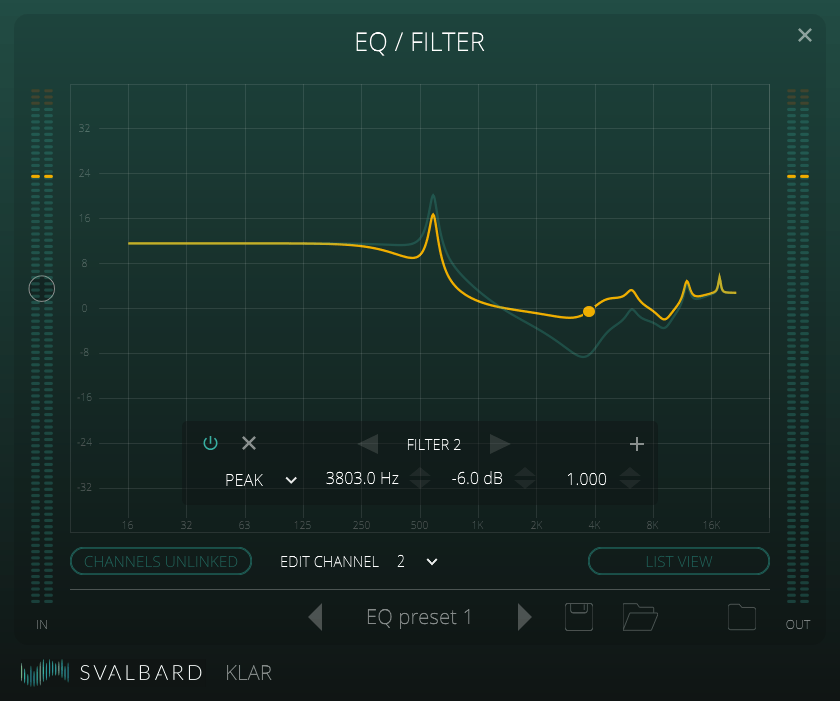
The EQ plugin enables you to create EQ (filter) settings. Here are some examples where this might be useful for:
- Linearize a speaker/driver so it has a flat response.
- Add filters to compensate for room mode problems.
- Adjust a 'target eq' to adjust the overall response of your monitoring system to your personal taste.

Add filter button

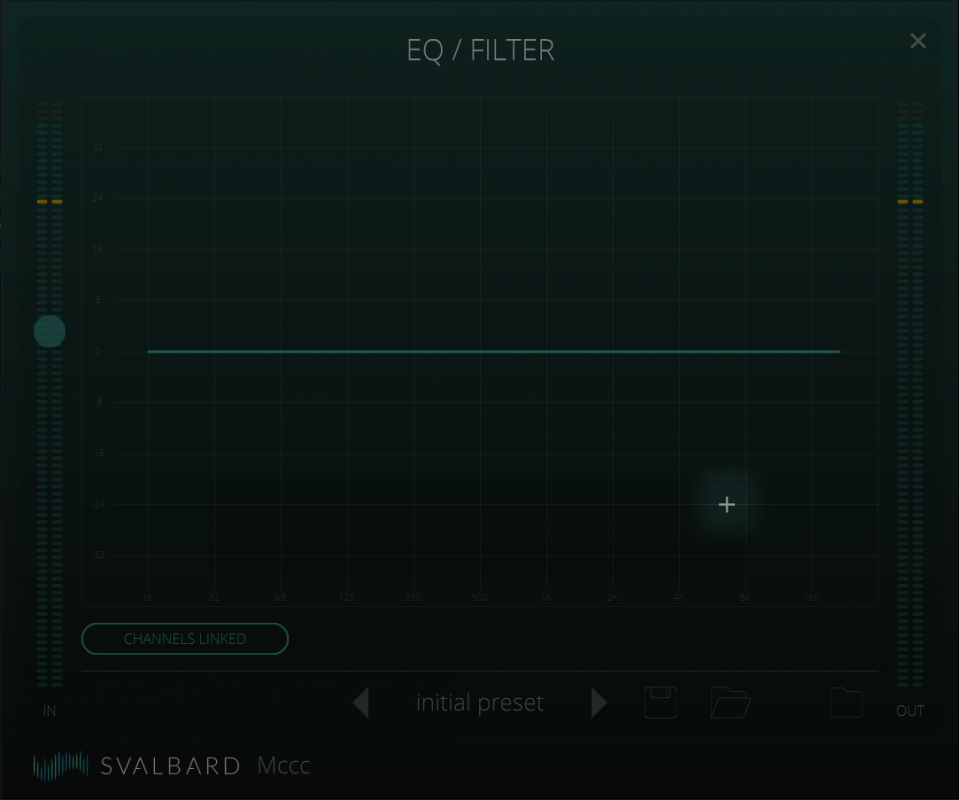
The default EQ plugin doesn't have any filters yet. You can add up to 32 bands for each preset using the 'plus' sign.

Filter settings

Each filter band has the following options, from left to right, starting at the top left corner: - Power button: enable or bypass this band - Remove: delete this band - Previous / next filter - Add new filter - Filter Type: - Peak - Low Pass 6dB - High Pass 6dB - Low Pass 12dB - High Pass 12dB - Low Pass_Q - High Pass_Q - Low Shelf - High Shelf - All pass - Frequency - Gain - Q

Channel link button

If you want all channels in this plugin to have the same settings, leave the 'Channel Linked' button on. Switching off the 'Edit channel' dropdown enables you to choose the channel you want to edit at this time.

Save and open REW filter settings files

The KLAR EQ presets are fully compatible with REW. You can save the current filter settings to a file on your disk to import in REW or store for future use in KLAR. You can open KLAR filter settings or import REW filter settings that you have saved using 'Save as REW filter settings file'.
XO

Crossover
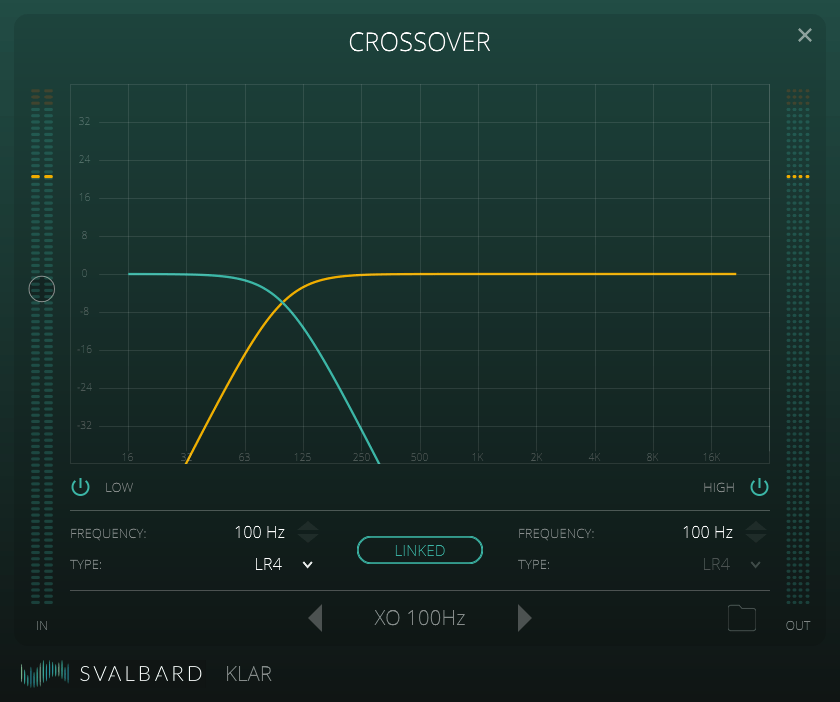
The crossover (XO) can be used to split the signal into separate frequency bands that can be sent to your subwoofer and monitor (or its separate drivers when using <bi-amping>). The default setting uses a 4th order Linkwitz-Riley filter (LR4) which has a 24db/octave slope.

Low/high power buttons

Enables you to switch the low- and high-frequency bands on or off separately. When a band is switched off it outputs the input signal unaltered, so if you're using bi-amping, be careful not to damage your tweeters this way. When the channels are <linked> both channels switch on/off simultaneously, so the power button acts as a bypass switch allowing you to send a copy of the unaltered input signal to both outputs. If you want to mute one of the outputs instead, you should use the power button of the outputBus plugin.

Frequency

The frequency at which the low- & high-band are split. With a Linkwitz-Riley crossover, both 2nd order (LR2) & 4th order (LR4), the level is -6dB at this point.

Type

You can choose between a 2nd order (LR2), 4th order (LR4) Linkwitz-Riley & 6th order (LR6) Linkwitz-Riley crossover. More info: <External Link>

Linked

Links together frequency & type for both bands.

MonoMaker

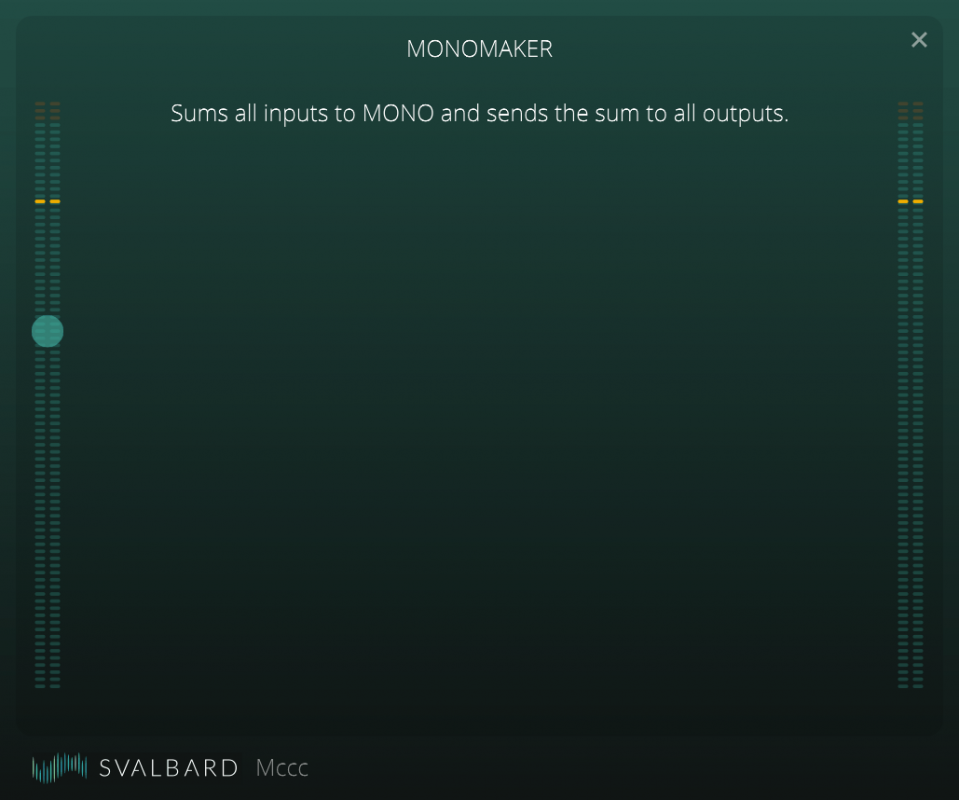
Sums all inputs to mono and sends the summed signal to all outputs, compensating for the increase in level because of the summing. Summing to mono can be useful when you want to check the mono compatibility of a mix or when you have only one subwoofer which should reproduce the low end of both channels of your stereo input signal.

Output Bus

Gain, delay and phase
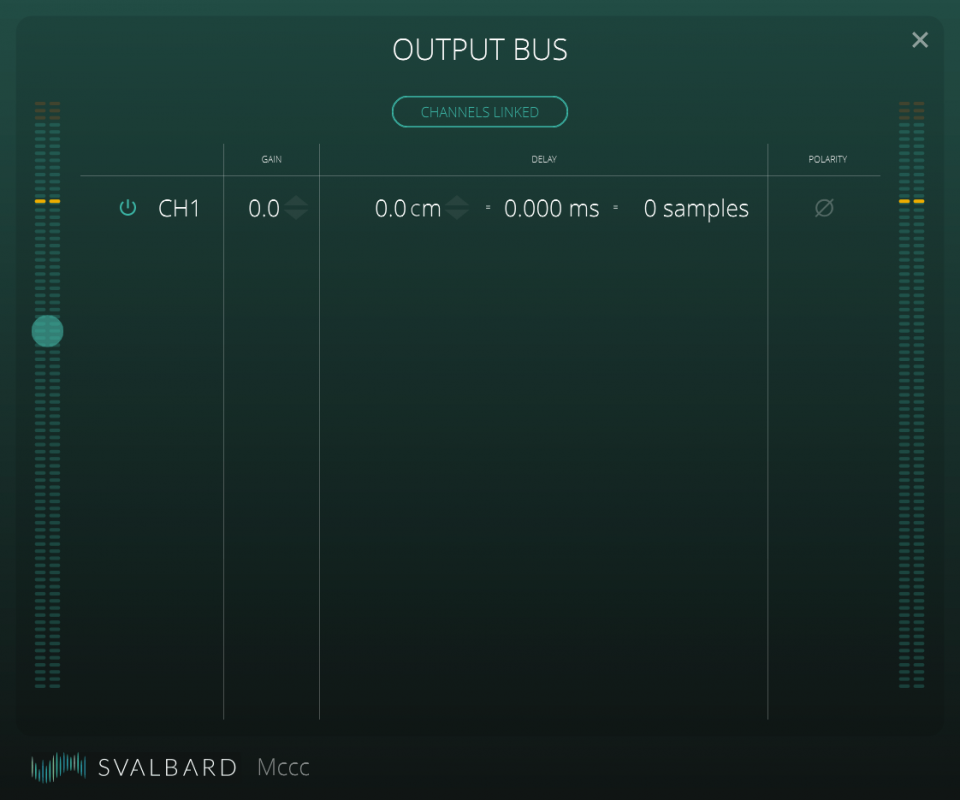
An Output Bus plugin appears in the monitor editor when you have added an KLAR output instance, see <DAW Routing>.

Channels linked

Links together the 'enable', 'gain', 'delay' & 'phase' settings for all channels simultaneously. The settings for channel 1 are automatically applied to all other channels.

Power Button

Switches the corresponding output channel on or off. In the off position, the signal is muted.

Gain

Changes the volume for each individual output channel.

Delay

The output delay for each individual channel. You can enter values in centimeters, milliseconds, or samples, and all the corresponding values are calculated as well. Regardless of how you enter the value, it is always stored in cm's/ms, this way the actual delay remains the same when you change the sample rate. <see delay tutorial>

Phase

Reverses the polarity of the output channel.

Preset manager

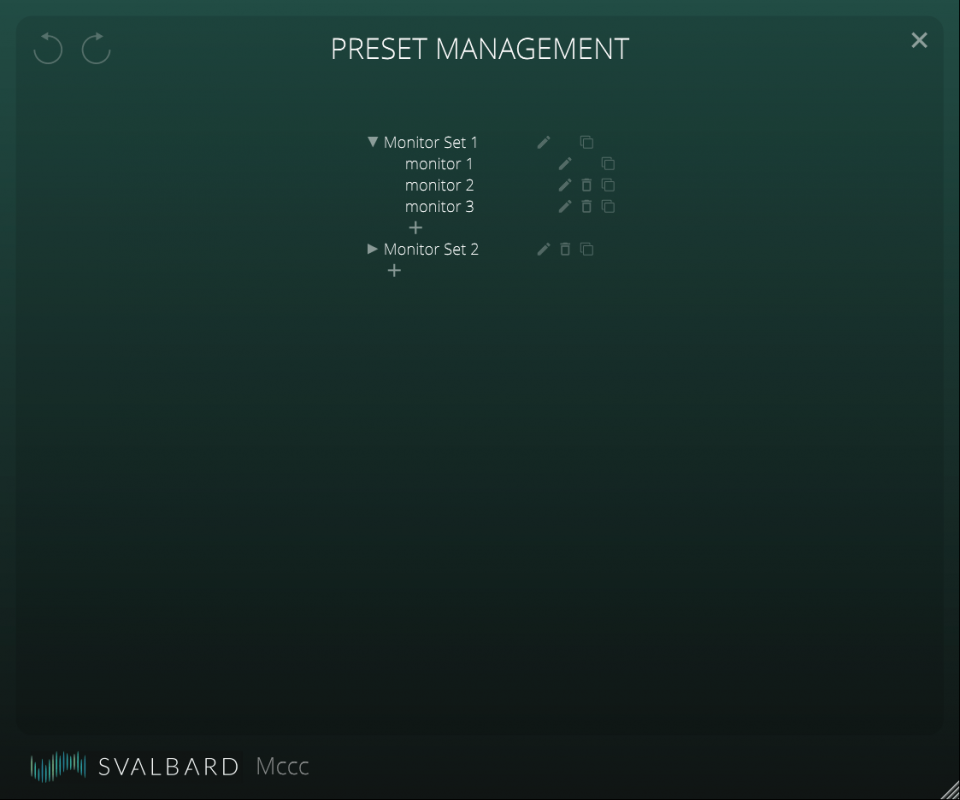
The preset manager is available on the main screen and in the EQ & Crossover plugins. Here you can add, remove, duplicate or rename the presets you have created.

Preset management

1. Add Clicking the plus icon underneath the current presets adds a new, empty one. 2. Edit Clicking the pencil icon to the right of the preset lets you change its name. 3. Remove Clicking the trash icon to the right of a preset removes the corresponding preset. 4. Duplicate Clicking the duplicate icon to the right of a preset creates a copy of it directly underneath, adding a 'D' to its name.

Undo/redo

Any change in the preset manager can be undone or redone using the buttons in the top left corner.

Settings

Adjust general KLAR settings.

Main levelmeter unit - COMING SOON

Determines the values displayed in the LED meter in the middle of the main screen. You can choose between 'Peak', 'RMS' or 'LUFS'.

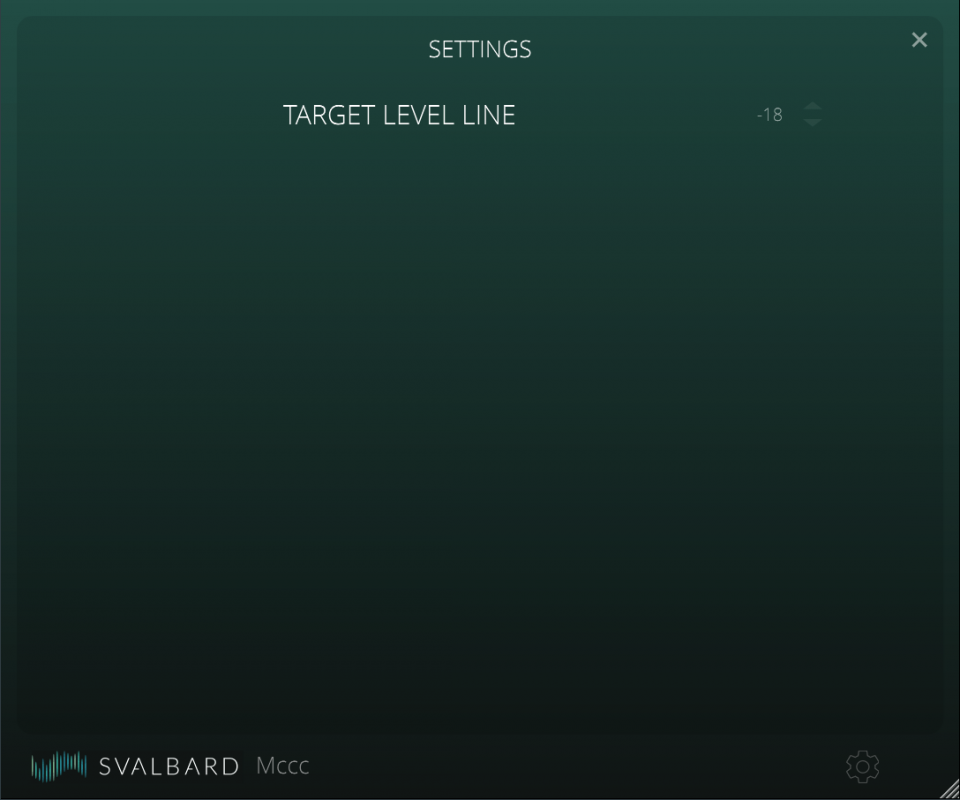
Target line level

Determines the dB value of the yellow target line in the main screen LED meter. This can for example be useful if you want to aim for a specific LUFS value during mixing or mastering or an RMS value to gain stage your recording levels. The unit it is in ('Peak', 'RMS', 'LUFS') is determined by the <MAIN LEVEL METER UNIT>.

Midi learn

If you press the midi-learn icon in the bottom right corner, you enter midi learn mode. An overlay appears that shows which midi control is currently assigned to an KLAR control.
If you click an KLAR button/control and then move a midi control it is automatically assigned. If you want to clear midi assignment from an KLAR button/control, first click the 'remove midi learn icon':
Then click the button/control you want to clear. To enable midi control you have to use your DAW to route midi to the main instance of KLAR. See the <Midi Control> tutorial for more info.